So recently I have been trying to make my tool as good as possible and I am trying to make it as bug-free as possible. (Ie. Not make your Amiga crash)
This requires that we debug it find the bugs and fix them.
So I am currently trying to debug my tool and I am trying to find the bugs and fix them.
I am using FS-UAE to emulate the Amiga and when we specifically want to debug an application we should use a CPU That has MMU (Memory Management Unit).
So I am gonna use the 68030 CPU which has MMU.
What does MMU do?
The MMU is a hardware component that is responsible for all memory accesses made by the CPU. It translates the virtual addresses into physical addresses and checks if memory access is allowed. If memory access is not allowed, the MMU will raise an exception.
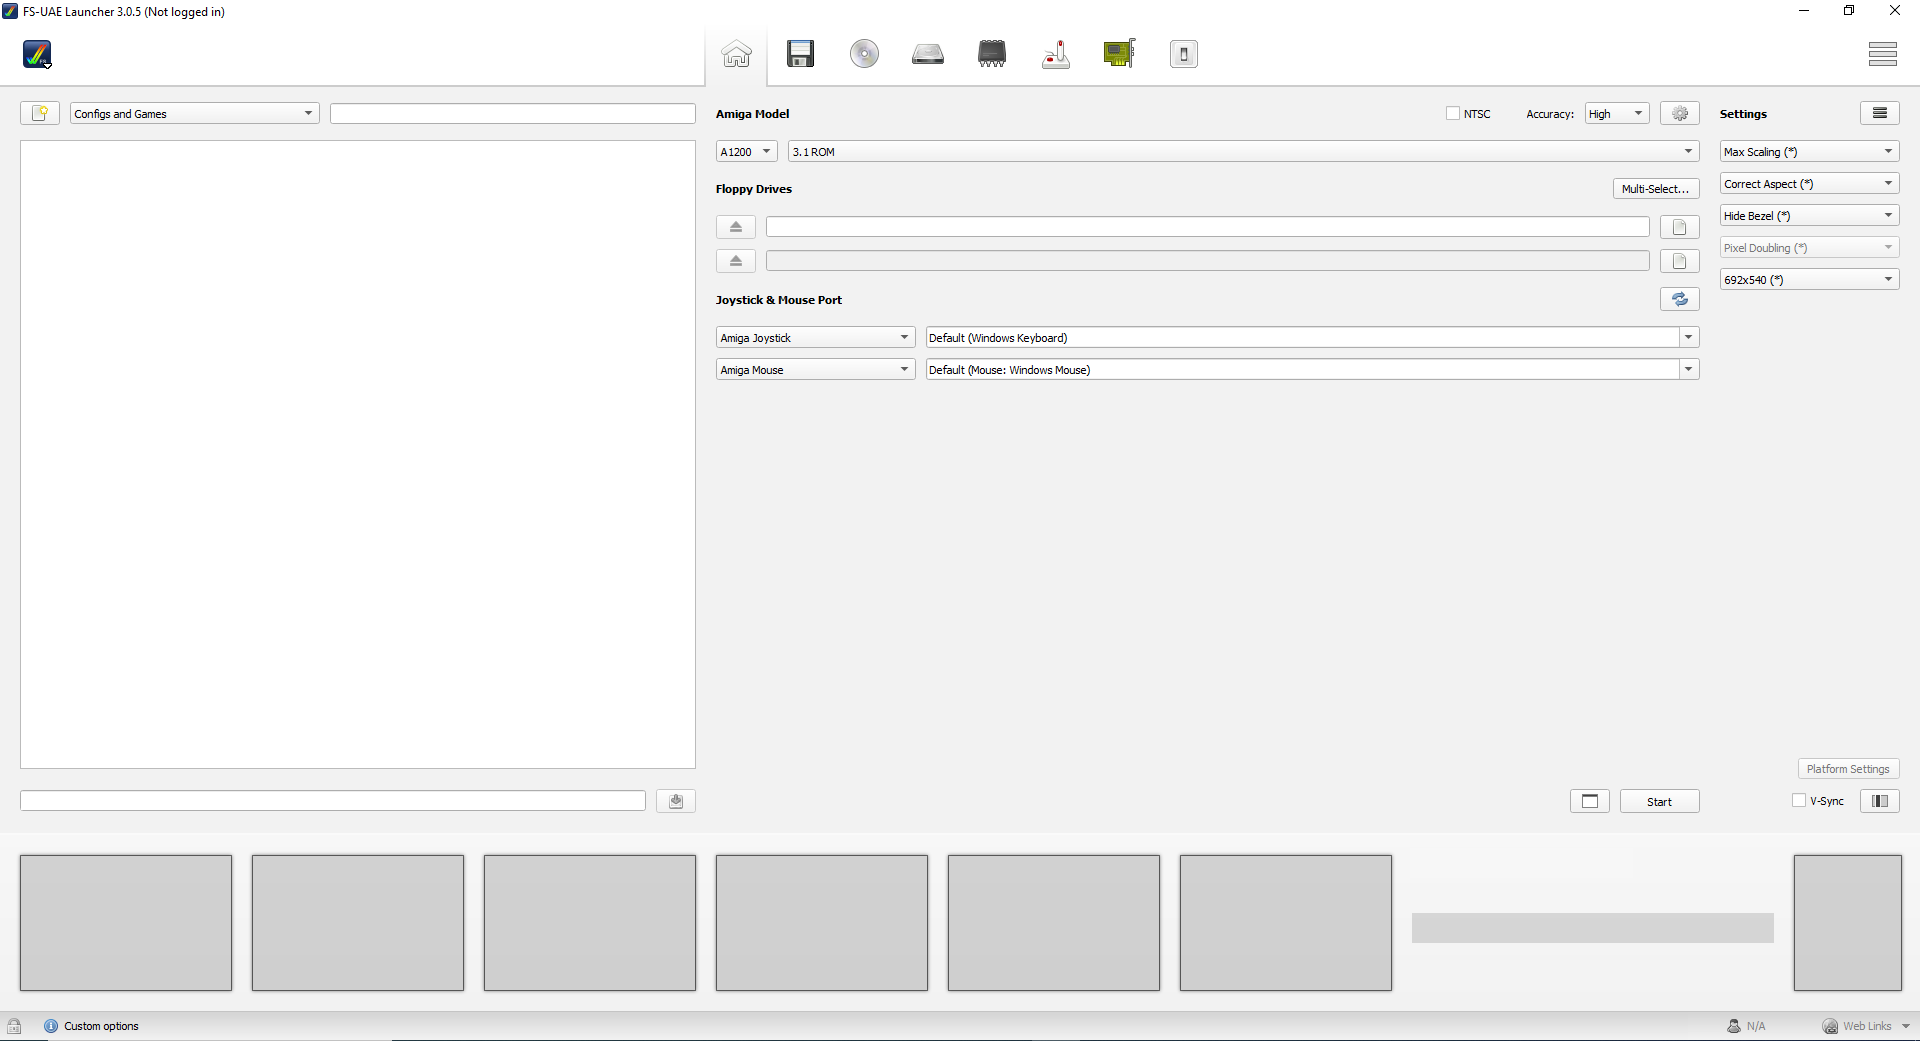
You can set a specific CPU you want to use under the “Additional Configuration” tab in FS-UAE Launcher.

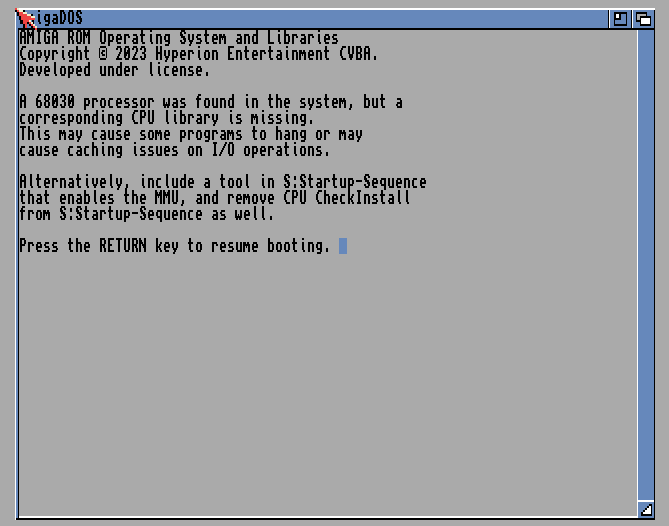
If you are switching between CPUs make sure you have all the required Libraries for that CPU.
For example, if you are switching from 68020 to 68030 you need to have the 68030 libraries.
If you don’t Amiga is gonna give you an error like this:
To download the libraries you can download the MMULibs Package from Aminet here http://aminet.net/package/util/libs/MMULib
You should find most of the required libraries in the “Libs” drawer.
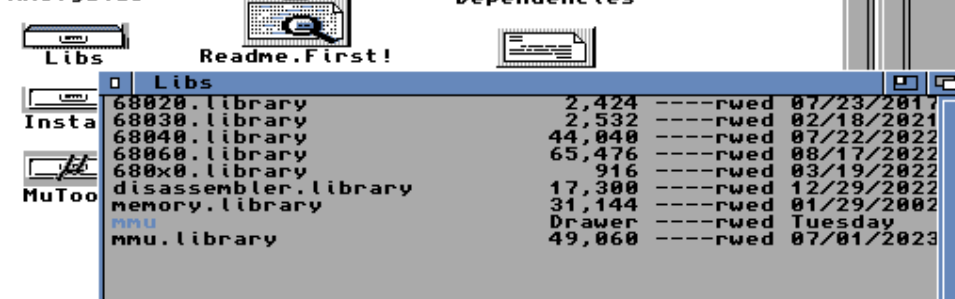
To install them you should copy them to the “Libs:” drawer in your Amiga.
Library names also show what library is for what CPU.
For example, if the library name is “68020.library” then it is for the 68020 CPU.
MMULibs Also has some amazing Debugging tools which we will highlight later.
Preparing FS-UAE for debugging
So now that we have the required libraries we can start debugging.
FS-UAE is amazing as it provides us with something called a “serial_port”.
What is a serial port?
In the original Amiga, there is a serial port slot where the Amiga would be able to send data and receive data from other devices.
So FS-UAE emulates this and provides us with a serial port.
Now to enable us to see the output of the serial port we need to enable the “serial_port” in FS-UAE.

Now you will notice that we have added “tcp://127.0.0.1:1234” to the “serial_port” option.
This is because we are gonna use our command line and something called telnet to connect to the serial port.
What is telnet?
Telnet is a command-line tool that allows you to communicate with another computer using the TELNET protocol. It is available on Unix, Unix-like, and Windows NT-based operating systems. The telnet command uses the Telnet protocol to communicate with a remote device or system in our case the serial port in our Amiga.
Now we can use telnet by typing this command in our command line:
telnet 127.0.0.1 1234
Debugging Tools
There are many amazing Debugging tools for the Amiga but I will outline the ones that I use and the ones that I find the most useful.
By default, Amiga is not gonna show us any output in the serial port.
So we will use some tools that utilize the serial port to show us the output.
Now we are gonna look at each one of them and see what they do.
![]()
- SegTracker
SegTracker can be downloaded from AmiNet here https://aminet.net/package/dev/debug/SegTracker
SegTracker is a Global tracking utility for files which include libraries and devices.
SegTracker will patch dos.library’s SegLists which are stored and tracked in a “safe” manner.
It is good to use SegTracker when you are debugging a program that uses a lot of libraries and devices.
To use SegTracker you just need to double-click on the icon and it will start tracking the SegLists.
What is a SegList?
A SegList is a list of segments that are loaded into memory. SegTracker will track the SegLists and will show us the output in the serial port. Especially when something is done wrongly.
This is what it looks like when you run SegTracker:
![]()
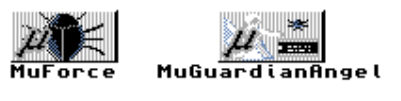
- MuForce and MuGuardianAngel
MuForce and MuGuardianAngel are downloaded with the MMULibs package mentioned above.
Now you will find these in the “MuTools” drawer in the MMULibs package.

MuForce is a tool for software testing. And it’s vital for debugging.
You can use MuForce by double-clicking on the icon and it will start.
Note: MuForce will not open any window or anything it will just start.
Now about MuGuardianAngel.
MuGuardianAngel is a tool that helps you to detect violations of the memory management of software, It will even protect memory up to a certain degree, and it will help you understand what is causing your program to crash.
You can use MuGuardianAngel by double-clicking on the icon and it will start with a Window saying it is initializing. After it finishes initializing it will show you a window saying “MuGuardianAngel on its job.”.

Important
Make sure to run these programs in the following order:
- SegTracker
- MuForce
- MuGuardianAngel
Especially make sure MuForce is before MuGuardianAngel as MuGuardianAngel will not work without MuForce.
Finding what the errors mean.
Now this is where debugging gets a bit tricky. Not every error will make particular sense to you so sometimes you will have to dig to find what the error means.
Let me show you an example of how to handle the errors from the Tool that I am working on:
An error can be outputted like this:
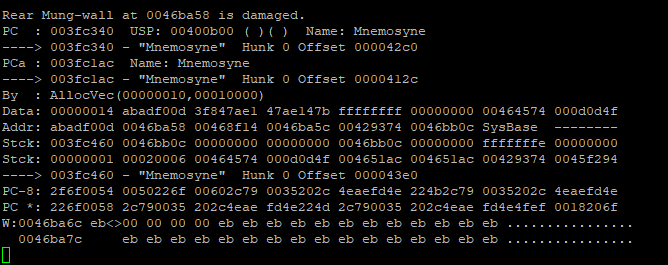
Now this can look a bit intimidating but it is not that hard to understand.
We need to look for 2 things in the error:
The Hunk
The Offset
Which you can find here

Now we will use an amazing tool called findhuckoffset Which can be downloaded from the hasenbraten website here http://sun.hasenbraten.de/~frank/projects/
FindHunkOffset is a tool that determines symbol-offset, source-, function-name, and line number from a hunk-offset in executable files with a symbol and/or debug hunk.
Now how do we use it?
First, we will need to open a shell where we downloaded the findhunkoffset tool so we can use it.
Now we will type this command:
FindHunkOffset <file> <Hunk> <Offset>
For example, for my error, I would type:
FindHunkOffset Mnemosyne 0 42c0
Note that sometimes you will get a different error by putting a 0x before the offset.
So if you get an error that does not make sense try putting a 0x before the offset.
Like this for example:
FindHunkOffset Mnemosyne 0 0x42c0
Now we will get an output like this:

Also, make sure that your executable is in the same directory as your source code.
Now we can see that the error is in the file “scan.c” at line 347. Which was an “AllocVec” Function which makes sense as the error also highlighted “AllocVec”.
These are some amazing debugging tools that can help you to make your program as bug-free as possible.
Hope you enjoyed this post and it helped you with debugging your programs. Good Luck with debugging and Thanks so much for reading :D