So it’s time!

As part of the Amiga Tool Jam I have finished my first ever Amiga Application!

It’s called Mnemosyne like the Greek Goddess of Memory.

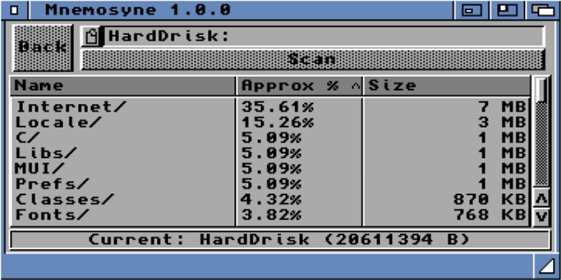
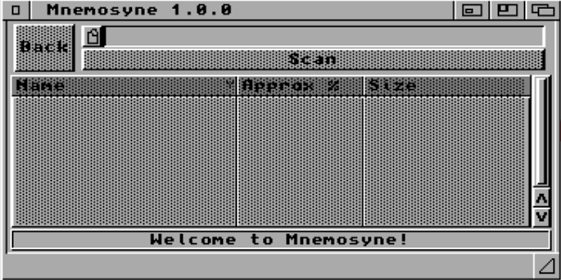
Mnemosyne is an open-source disk utility application for AmigaOS 3.2, which can be used to show you what files and folders are taking up space on your disk.
It is written in C and utilizes NDK 3.2 and ReAction.
I mentioned this tool in my previous post Debugging In Amiga where I tried to fix an issue with Mnemosyne.

It is my first Amiga Application and I hope you like it!
Mnemosyne can help you with managing the space in your disks and can help you find files and folders that are taking up space.
You can download it from the Github Repository here: https://github.com/Arisamiga/Mnemosyne
Or you should be able to download it from Aminet: https://aminet.net/package/util/misc/Mnemosyne
As part of the release, I have created Actions in the Github Repository so I can automate the release process.
So when I create a new release it will automatically compile the application and attach it to the release.
This can be done by using the on keyword in the Actions.
on:
  release:
    types: [published]
This will run the action when a new release is published.
But one thing I am also doing is using a Docker Image to compile my code. Specifically https://github.com/walkero-gr/docker4AmigaVBCC
This is a Docker Image which includes all the required tools to compile Amiga Applications It also has all the assigns for the AmigaOS 3.2 NDK.
To use a Docker Image in Github Actions you can use the container keyword.
container:
  image: walkero-gr/docker4amigavbc:latest-m68k
This will use the Docker Image to run the commands in the Actions.
We will need to also have a volume so we can do that by using the volumes keyword.
volumes:
  - '${{ github.workspace }}:/opt/code'
${{ github.workspace }} is a Github Actions variable that will be replaced with the path to the Github Workspace (ie. the repository).
This will mount the repository to the /opt/code directory in the Docker container so we will be able to have access to our code inside the container.
Then we can run commands like normal in the Actions.
- name: Compile
  run: |
    cd /opt/code
    make
Now to upload the release we can use the upload-release-asset action.
- name: Upload Release Asset
  uses: actions/upload-release-asset@v1
  env:
    GITHUB_TOKEN: ${{ secrets.GITHUB_TOKEN }}
  with:
    upload_url: ${{ github.event.release.upload_url }}
    asset_path: ./Mnemosyne.lha
    asset_name: Mnemosyne.lha
    asset_content_type: application/x-lzh-compressed
${{secrets.GITHUB_TOKEN}} is very special as you do now need to create a token for it. It is a special token that Github creates for you.
${{ github.event.release.upload_url }} is another Github Actions variable that will be replaced with the upload URL for the release. (The URL of the release that triggered the action)
./Mnemosyne.lha is the path to the file we want to upload.
Mnemosyne.lha is the name of the file we want to upload.
application/x-lzh-compressed is the content type of the file we want to upload.
If you want you can see the full action here: https://github.com/Arisamiga/Mnemosyne/blob/main/.github/workflows/buildRelease.yml
I have also recently added so it will also upload the release .lha to Aminet as well!
I hope you like my first Amiga Application!
If you find any issues or you want to suggest a feature you can do so on the Github Repository here: https://github.com/Arisamiga/Mnemosyne
And for more information about Mnemosyne, you can check out the Wiki! https://github.com/Arisamiga/Mnemosyne/wiki
Hope you enjoyed this post and Thanks so much for reading :D