Hello Everyone!
So Lately I have been working on Learning C as I explained in my last blog post which you find here: New Year, New Language!.
Now I have been working with C and with the Amiga and I wanted to create a program where it would create a window.
Now to create an interactive window we have to use something called an NDK.
What’s an NDK?
NDK stands for Native Developer Kit and it is a set of tools and documentation for tinkering with the Amiga at the operating system level or slightly below that.
You can download the NDK from here https://aminet.net/package/dev/misc/NDK3.2
So I have been trying to find some documentation on how to use the NDK and its tools but I have been having some trouble finding it.
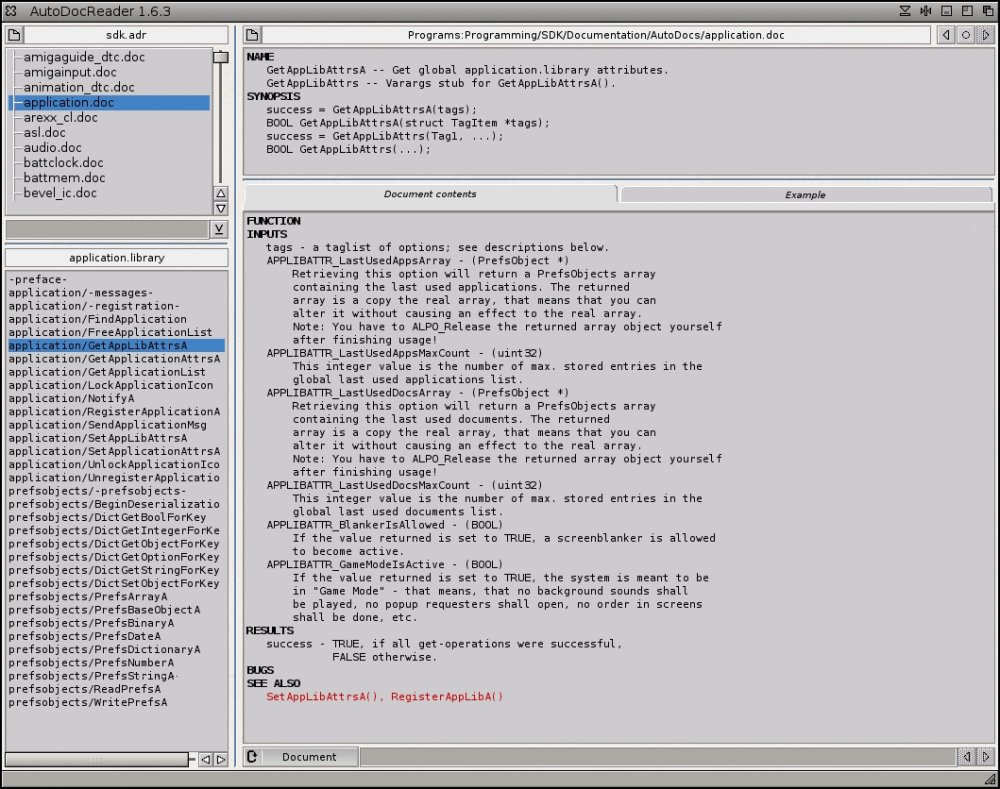
The only thing I found was in the NDK itself under Autodocs. Which was basically a list of .doc files that I had to open with a text editor to see the documentation.
In AmigaOS 4 there is an application where you can search for things in the documentation but it is not available for AmigaOS 3.
So I basically had 2 choices:
1. Use the Autodocs and open them with a text editor every single time.
orrrr
2. Make a whole new website and use javascript make it check every 110 files and return the thing that I am searching for.
So I decided to go with the second option :)
Now, How do we do that??
Well, Javascript is a great language and it has a lot of things that we can use to make our lives easier.
Like, fetch() is a function that we use to make requests to a server and get the response with the data that we want.
So we can use fetch() to get the data from the files and then we can use the .then() function to do something with the data that we got.
Autodocs = ["list of Autodocs .doc files"]

Autodocs.forEach(element => {
    fetch("./Autodocs/" + element)
    .then(response => response.text())
    .then(data => {
        // search for the thing we want.
    });
});
So now we have the data from the files.
But how do we search for the thing we want?
Well, we can use the .includes() function which is a function that checks if a string is inside another string, and because fetch() basically returns a huge string we can use that.
Autodocs.forEach(element => {
    fetch("./Autodocs/" + element)
    .then(response => response.text())
    .then(data => {
        if (data.includes(search)) {
            // do something with the data
        }
    });
});
Great now we have the data and we can check if it includes the thing we want.
Now we don’t want to call the files each time we want to search for something new.
So we can use the fetch() one time after the page loads and then we can store that data in a variable and use that variable to search for the things we want.
var Autodocs = [];

Autodocs.forEach(element => {
    fetch("./Autodocs/" + element)
    .then(response => response.text())
    .then(data => {
        Autodocs.push(data);
    });
});

function search() {
    var search = document.getElementById("search").value;
    Autodocs.forEach(element => {
        if (element.includes(search)) {
            // do something with the data
        }
    });
}
Now we have the data and we can search for the thing we want.
We can display that data in a nice way by using .innerHTML if we want to add HTML but we can also use .innerText if we only want to add Text.
var Autodocs = [];

Autodocs.forEach(element => {
    fetch("./Autodocs/" + element)
    .then(response => response.text())
    .then(data => {
        Autodocs.push(data);
    });
});

function search() {
    var search = document.getElementById("search").value;
    var results = document.getElementById("results");
    results.innerHTML = "";
    Autodocs.forEach(element => {
        if (element.includes(search)) {
            results.innerHTML += "<p>" + element + "</p>";
        }
    });
}
Now we also want to highlight the thing we are searching for inside the text.
We can do that by using the .replace() function (which is a function that replaces a string with another string and the <mark> HTML element which is an element that can highlight the text we want.
var Autodocs = [];

Autodocs.forEach(element => {
    fetch("./Autodocs/" + element)
    .then(response => response.text())
    .then(data => {
        Autodocs.push(data);
    });
});

function search() {
    var search = document.getElementById("search").value;
    var results = document.getElementById("results");
    results.innerHTML = "";
    Autodocs.forEach(element => {
        if (element.includes(search)) {
            var text = element.replace(search, "<mark>" + search + "</mark>");
            results.innerHTML += "<p>" + text + "</p>";
        }
    });
}
So with that we now we have a working search engine for the NDK documentation!!
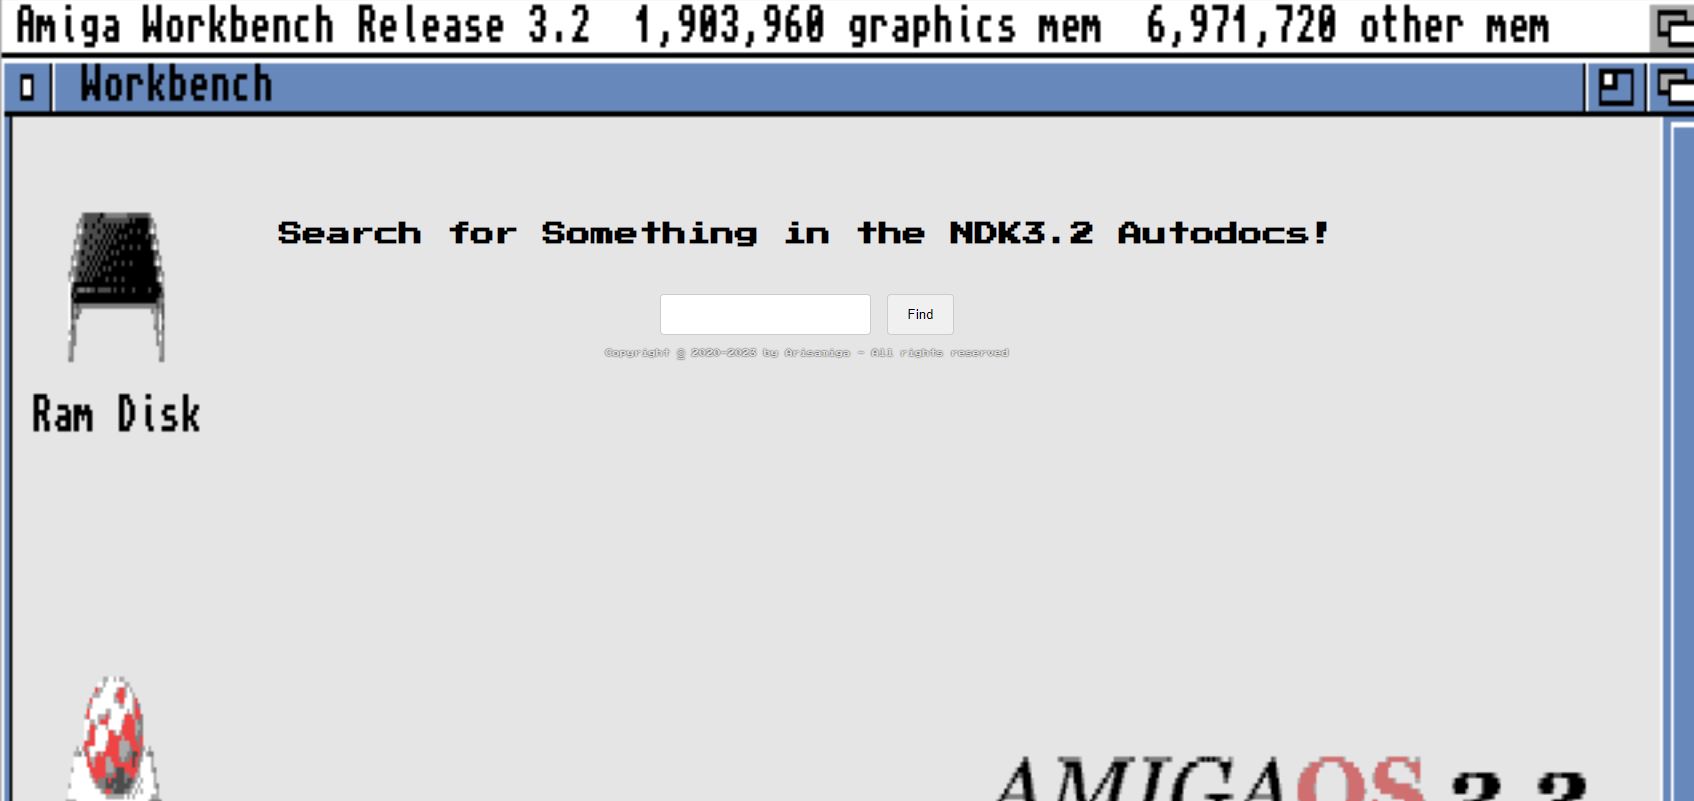
I have made that website and you can find it here: https://ndk.arisamiga.rocks/
I will be trying to add more features to it in the future so stay tuned!
I hope you liked today’s blog post and I hope you will find that website useful!