So recently I have been thinking of projects to do with my Raspberry Pi and my Display Until I came across this video by NetworkChuck
I have been interested a lot in Cybersecurity and how it works.
In the video, there is a mention of something called a ‘Pwnagotchi’.
Pwnagotchi is a blend of pwn and -gotchi. It is a nostalgic reference made in homage to a very popular children’s toy from the 1990s called the Tamagotchi.
What is a Pwnagotchi?
Pwnagotchi is an A2C-based “AI” powered by Bettercap and running on a Raspberry Pi Zero W that learns from its surrounding WiFi environment to maximize the crackable WPA key material it captures (either through passive sniffing or by performing de-authentication and association attacks).
The goal of the pwnagotchi is to give hackers an excuse to learn about reinforcement learning and WiFi networking—and have a reason to get out for more walks.
How does the Pwnagotchi work?
Instead of merely playing Super Mario or Atari games like most reinforcement learning-based “AI”, Pwnagotchi tunes its own parameters over time to get better at pwning WiFi things in the environments, you expose it to.
And it feeds itself with WiFi Handshakes, PMKIDs, and beacon frames with SSIDs that it collects by sniffing the air and by performing de-authentication and association attacks.
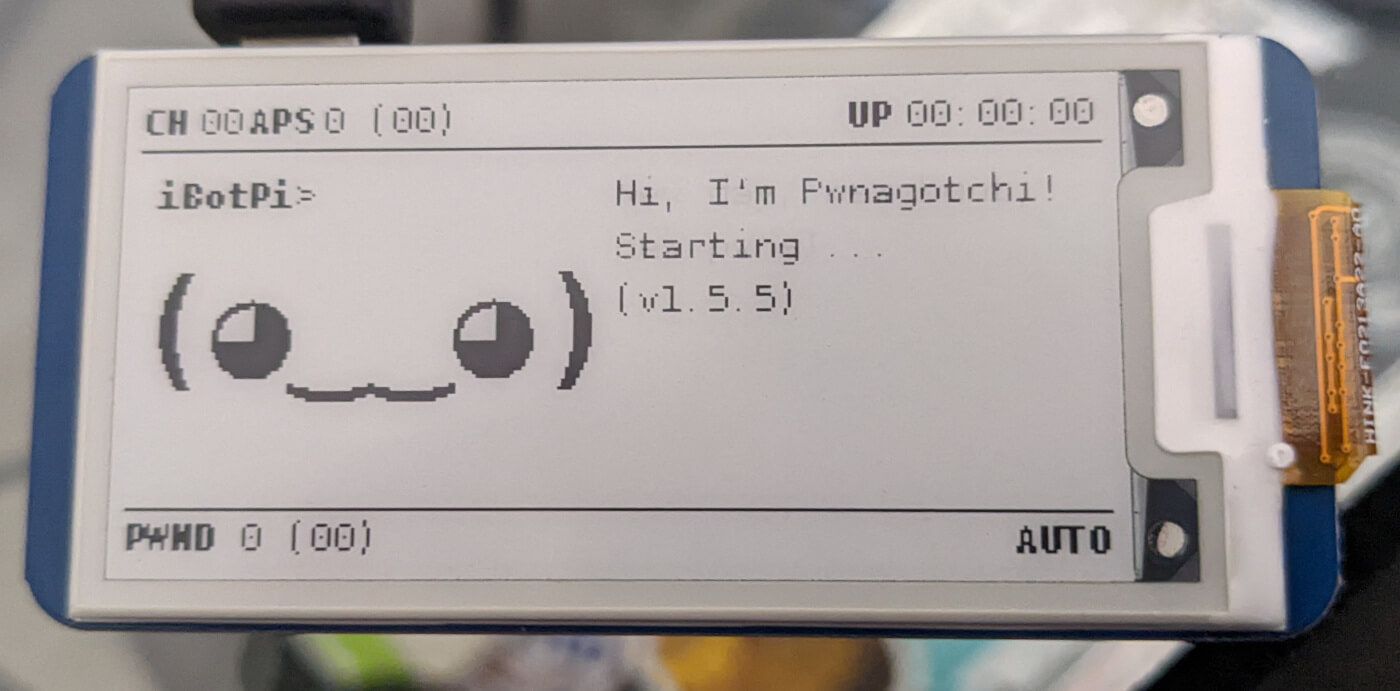
Also as the creator of the Pwnagotchi said “Also? It’s cute as f—.”
Each face expression can mean different things: https://pwnagotchi.ai/intro/#the-faces
So I decided to make one myself!
Installation
So I followed the instructions on the Pwnagotchi website.
I will be using my Raspberry Pi Zero W from my past projects as well as a 5"inch HDMI LCD Display!
In terms of the Display, it is better to use an Eink display as it consumes less power and is much more portable.
First, we are gonna be flashing the SD card with the Pwnagotchi image which can be found on its Github page https://github.com/evilsocket/pwnagotchi/releases
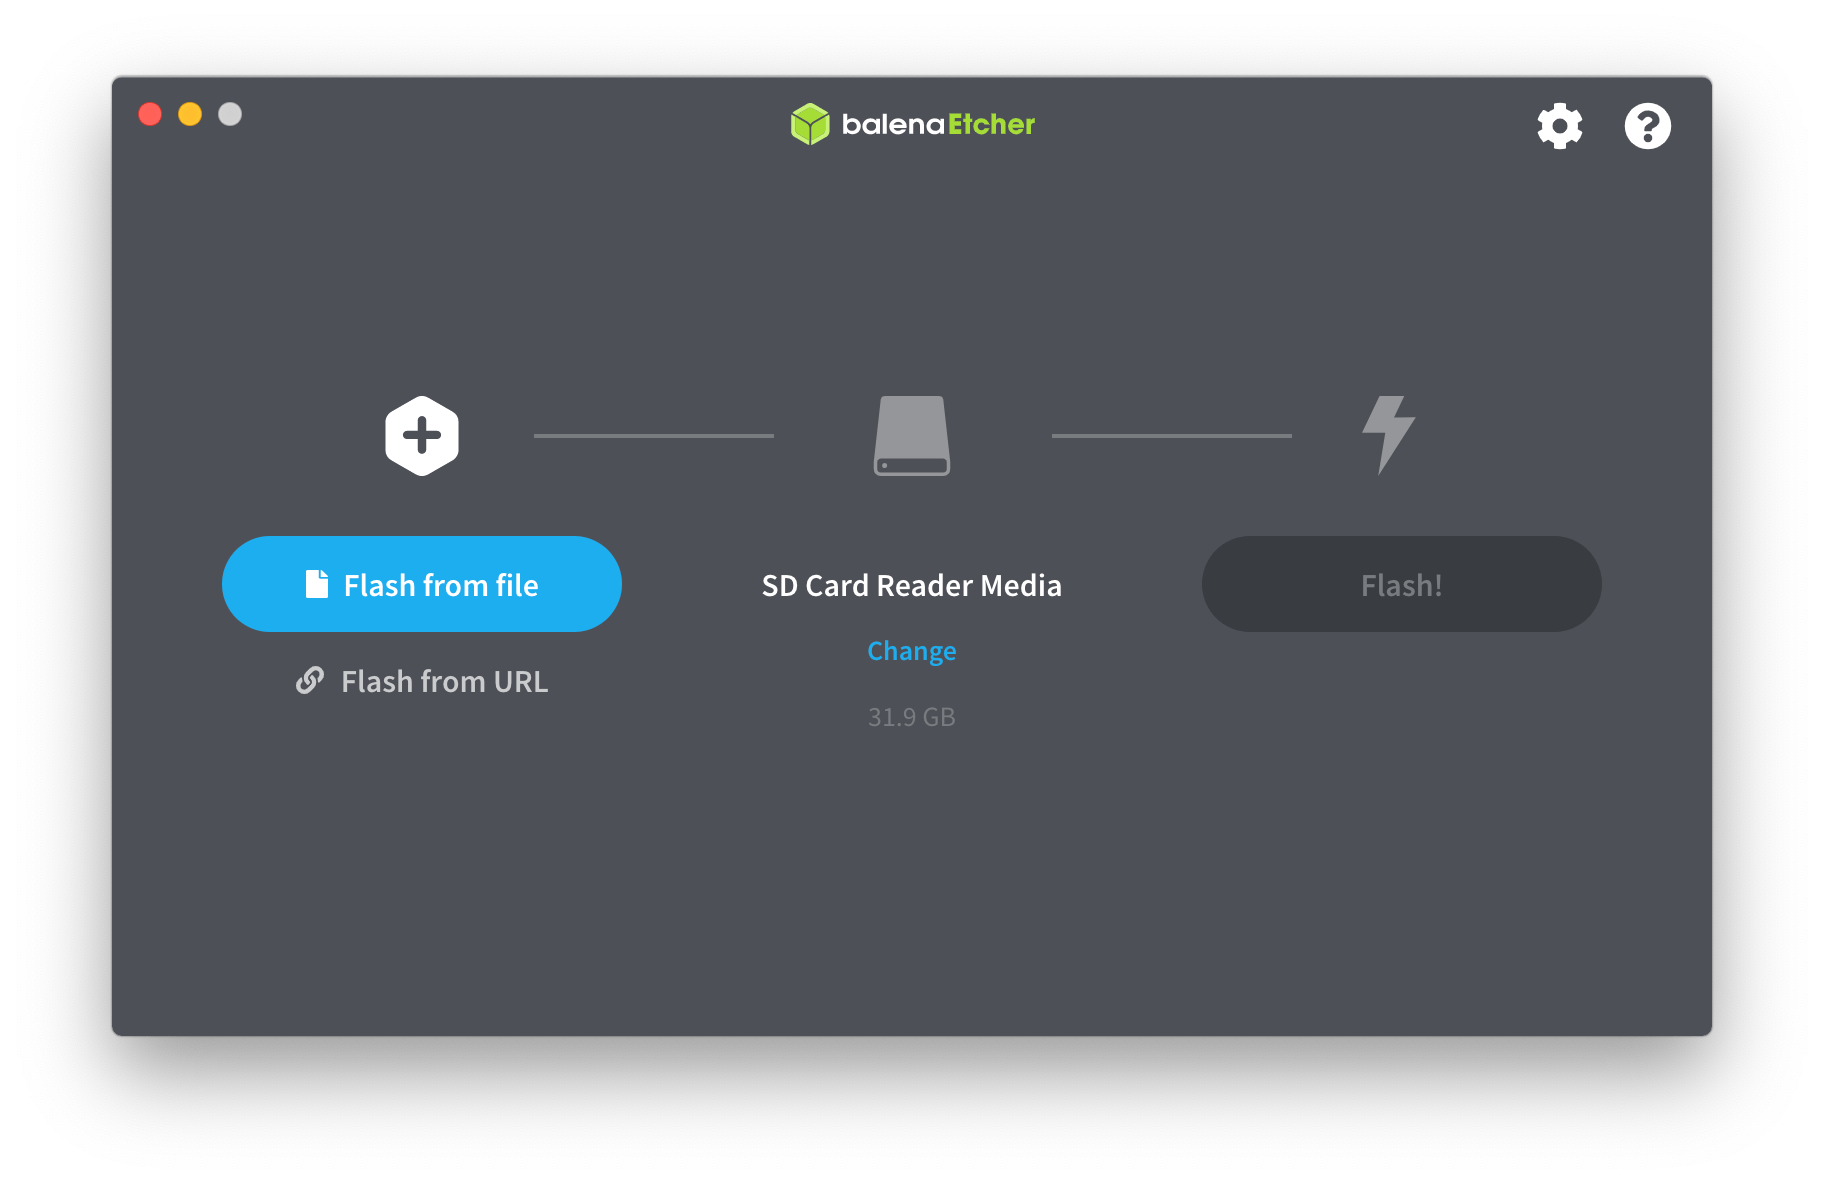
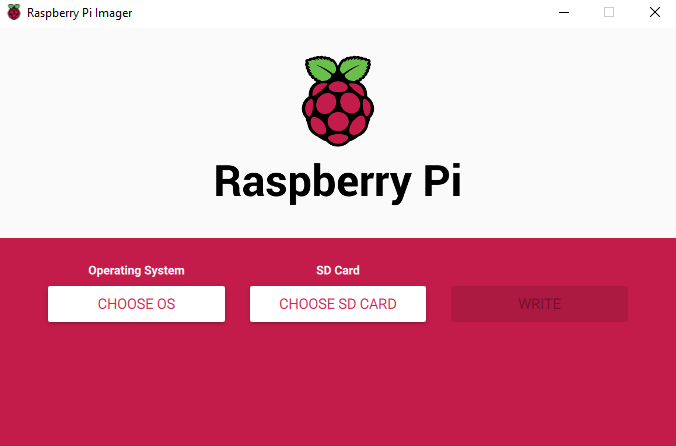
You can use Etcher to flash the image to the SD card or Raspberry Pi Imager.
After flashing the image we will need to create a file called config.toml in the root of the SD card. This file will contain the configuration for the Pwnagotchi and should look like this:
main.name = "pwnagotchi"
main.lang = "en"
main.whitelist = [
  "EXAMPLE_NETWORK",
  "ANOTHER_EXAMPLE_NETWORK",
  "fo:od:ba:be:fo:od",
  "fo:od:ba"
]

main.plugins.grid.enabled = true
main.plugins.grid.report = true
main.plugins.grid.exclude = [
  "YourHomeNetworkHere"
]

ui.display.enabled = true
ui.display.type = "waveshare_2"
ui.display.color = "black"
You can change main.name = "pwnagotchi" to whatever you want to name your Pwnagotchi.
If you want to enable the UI web interface, you will need to add the following lines to the config.toml file:
ui.web.username = "admin"
ui.web.password = "admin"
ui.web.enabled = true
ui.web.address = "0.0.0.0"
ui.web.origin = ""
ui.web.port = 8080
ui.web.on_frame = ""
We can now insert the SD card into the Raspberry Pi Zero W and power it on.
Connecting to the Pwnagotchi
This will be different depending on if you are using Windows or Linux or Mac.
But basically, what will we be doing is connecting to the Pwnagotchi via SSH using our USB cable.
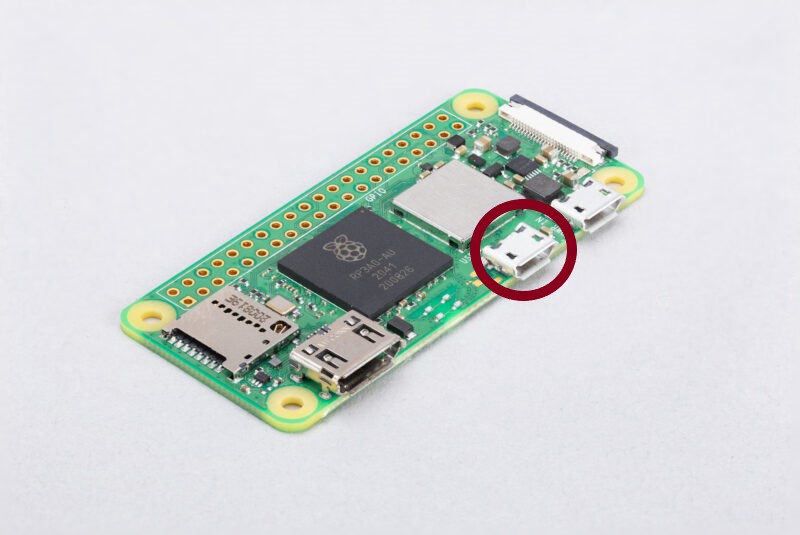 Make sure you plug the USB cable into the Data port and not the power port.
When you plug in your Pwnagotchi to your computer, it will show up as RNDIS/Ethernet Gadget which is a USB Ethernet adapter.

It will have its own Self Assigned IP Address that’s what we will need to change.
We need to set a static IPv4 IP address for the USB Ethernet adapter. To do this it is different for each OS.
For Windows You would go to Network and Sharing Center and click on Change Adapter Settings. Then right-click on the RNDIS/Ethernet Gadget and click on Properties. Then double click on Internet Protocol Version 4 (TCP/IPv4) and set the IP address to 10.0.0.1 and the subnet mask to 255.255.255.0.
For Mac You would go to System Preferences and click on Network. Then click on RNDIS/Ethernet Gadget and click on Advanced. Then click on TCP/IP and set the Configure IPv4 to Manually and set the IP address to 10.0.0.1 and the subnet mask to 255.255.255.0 and route to 10.0.0.1.
For Linux You would go to Settings and click on Network. Then click on Wired and click on the Settings icon. Then click on IPv4 and set the Method to Manual and set the IP address to 10.0.0.1 and the subnet mask to 255.255.255.0.
Once you have done that check that you can ping the Pwnagotchi by typing ping 10.0.0.2 in the terminal.
Now we can SSH into the Pwnagotchi by typing ssh pwnagotchi@10.0.0.2
The default password is pwnagotchi
Viewing the Pwnagotchi
There are 2 ways of viewing the Pwnagotchi.
By using the web interface or by using your display.
If you are using a display make sure it is supported by the Pwnagotchi by checking the Pwnagotchi website.
I will explain later how to set up the display for HDMI.
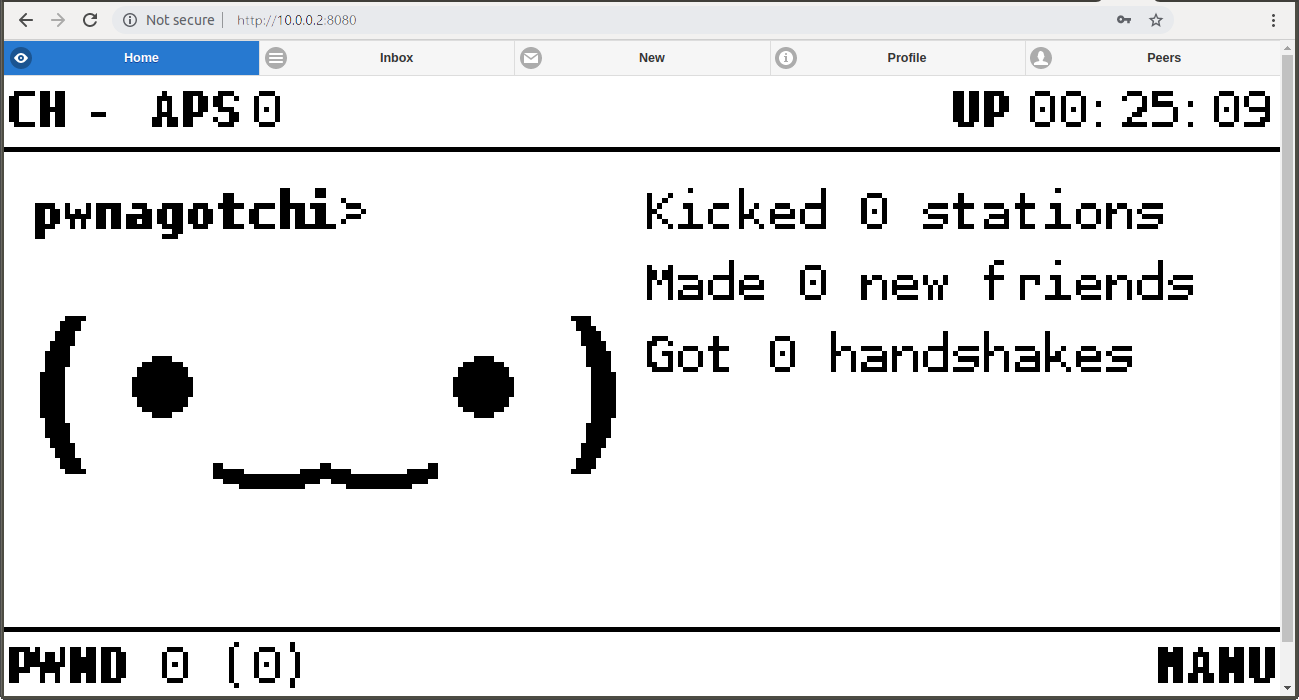
If you are using the web interface you can go to http://10.0.0.2:8080 in your browser and if you connected to the Pwnagotchi correctly you should see the web interface.
The username and password would be what you set in the config.toml file.
Setting up an HDMI Display
HDMI displays are not officially supported by the Pwnagotchi but there is a way to get it working.
Using this amazing project https://github.com/solution-libre/pwnagotchi-hdmi-viewer
First, we need to install the repository and move it to our Raspberry Pi Zero W tmp folder.
To move a Folder from your computer to your Raspberry Pi Zero W you can use scp which is a command line tool for copying files and folders over SSH.
To use scp you would type scp -r /path/to/folder pwnagotchi@10.0.0.2:/tmp
Once you have moved the folder to the Raspberry Pi Zero W we can start installing the repository.
First we will need to move pwnagotchi-launcher-pre, pwnagotchi-viewer, pwnagotchi-viewer-next, to /usr/local/sbin
sudo mv pwnagotchi-launcher-pre pwnagotchi-viewer pwnagotchi-viewer-next /usr/local/sbin
Then after doing that, we will need to add a splash screen 250x122px to /root/pwnagotchi-splashcreen.png
Here is a white splash screen you can use (You might not be able to see it if you use a light theme):

After that we are gonna be editing /etc/pwnagotchi/config.toml config file:
@@ -2,3 +2,4 @@
 # Example:
 # ui.display.enabled = true
 # ui.display.type = "waveshare_2"
+ui.web.on_frame = "pwnagotchi-viewer-next"
Make sure that you also check that there is no other ui.web.on_frame in the config.toml file.
Then we are gonna also edit /etc/systemd/system/pwnagotchi.service service file:
@@ -7,9 +7,7 @@ After=pwngrid-peer.service
[Service]
Type=simple
PermissionsStartOnly=true
+ExecStartPre=/usr/local/sbin/pwnagotchi-launcher-pre
ExecStart=/usr/bin/pwnagotchi-launcher
+ExecStartPost=start-stop-daemon --start -b --exec /usr/local/sbin/pwnagotchi-viewer
Restart=always
RestartSec=30
TasksMax=infinity
Then we are gonna Reload systemctl
sudo systemctl daemon-reload
and we are gonna reboot the Pwnagotchi
sudo reboot
After the Pwnagotchi has rebooted you should see the HDMI display working.
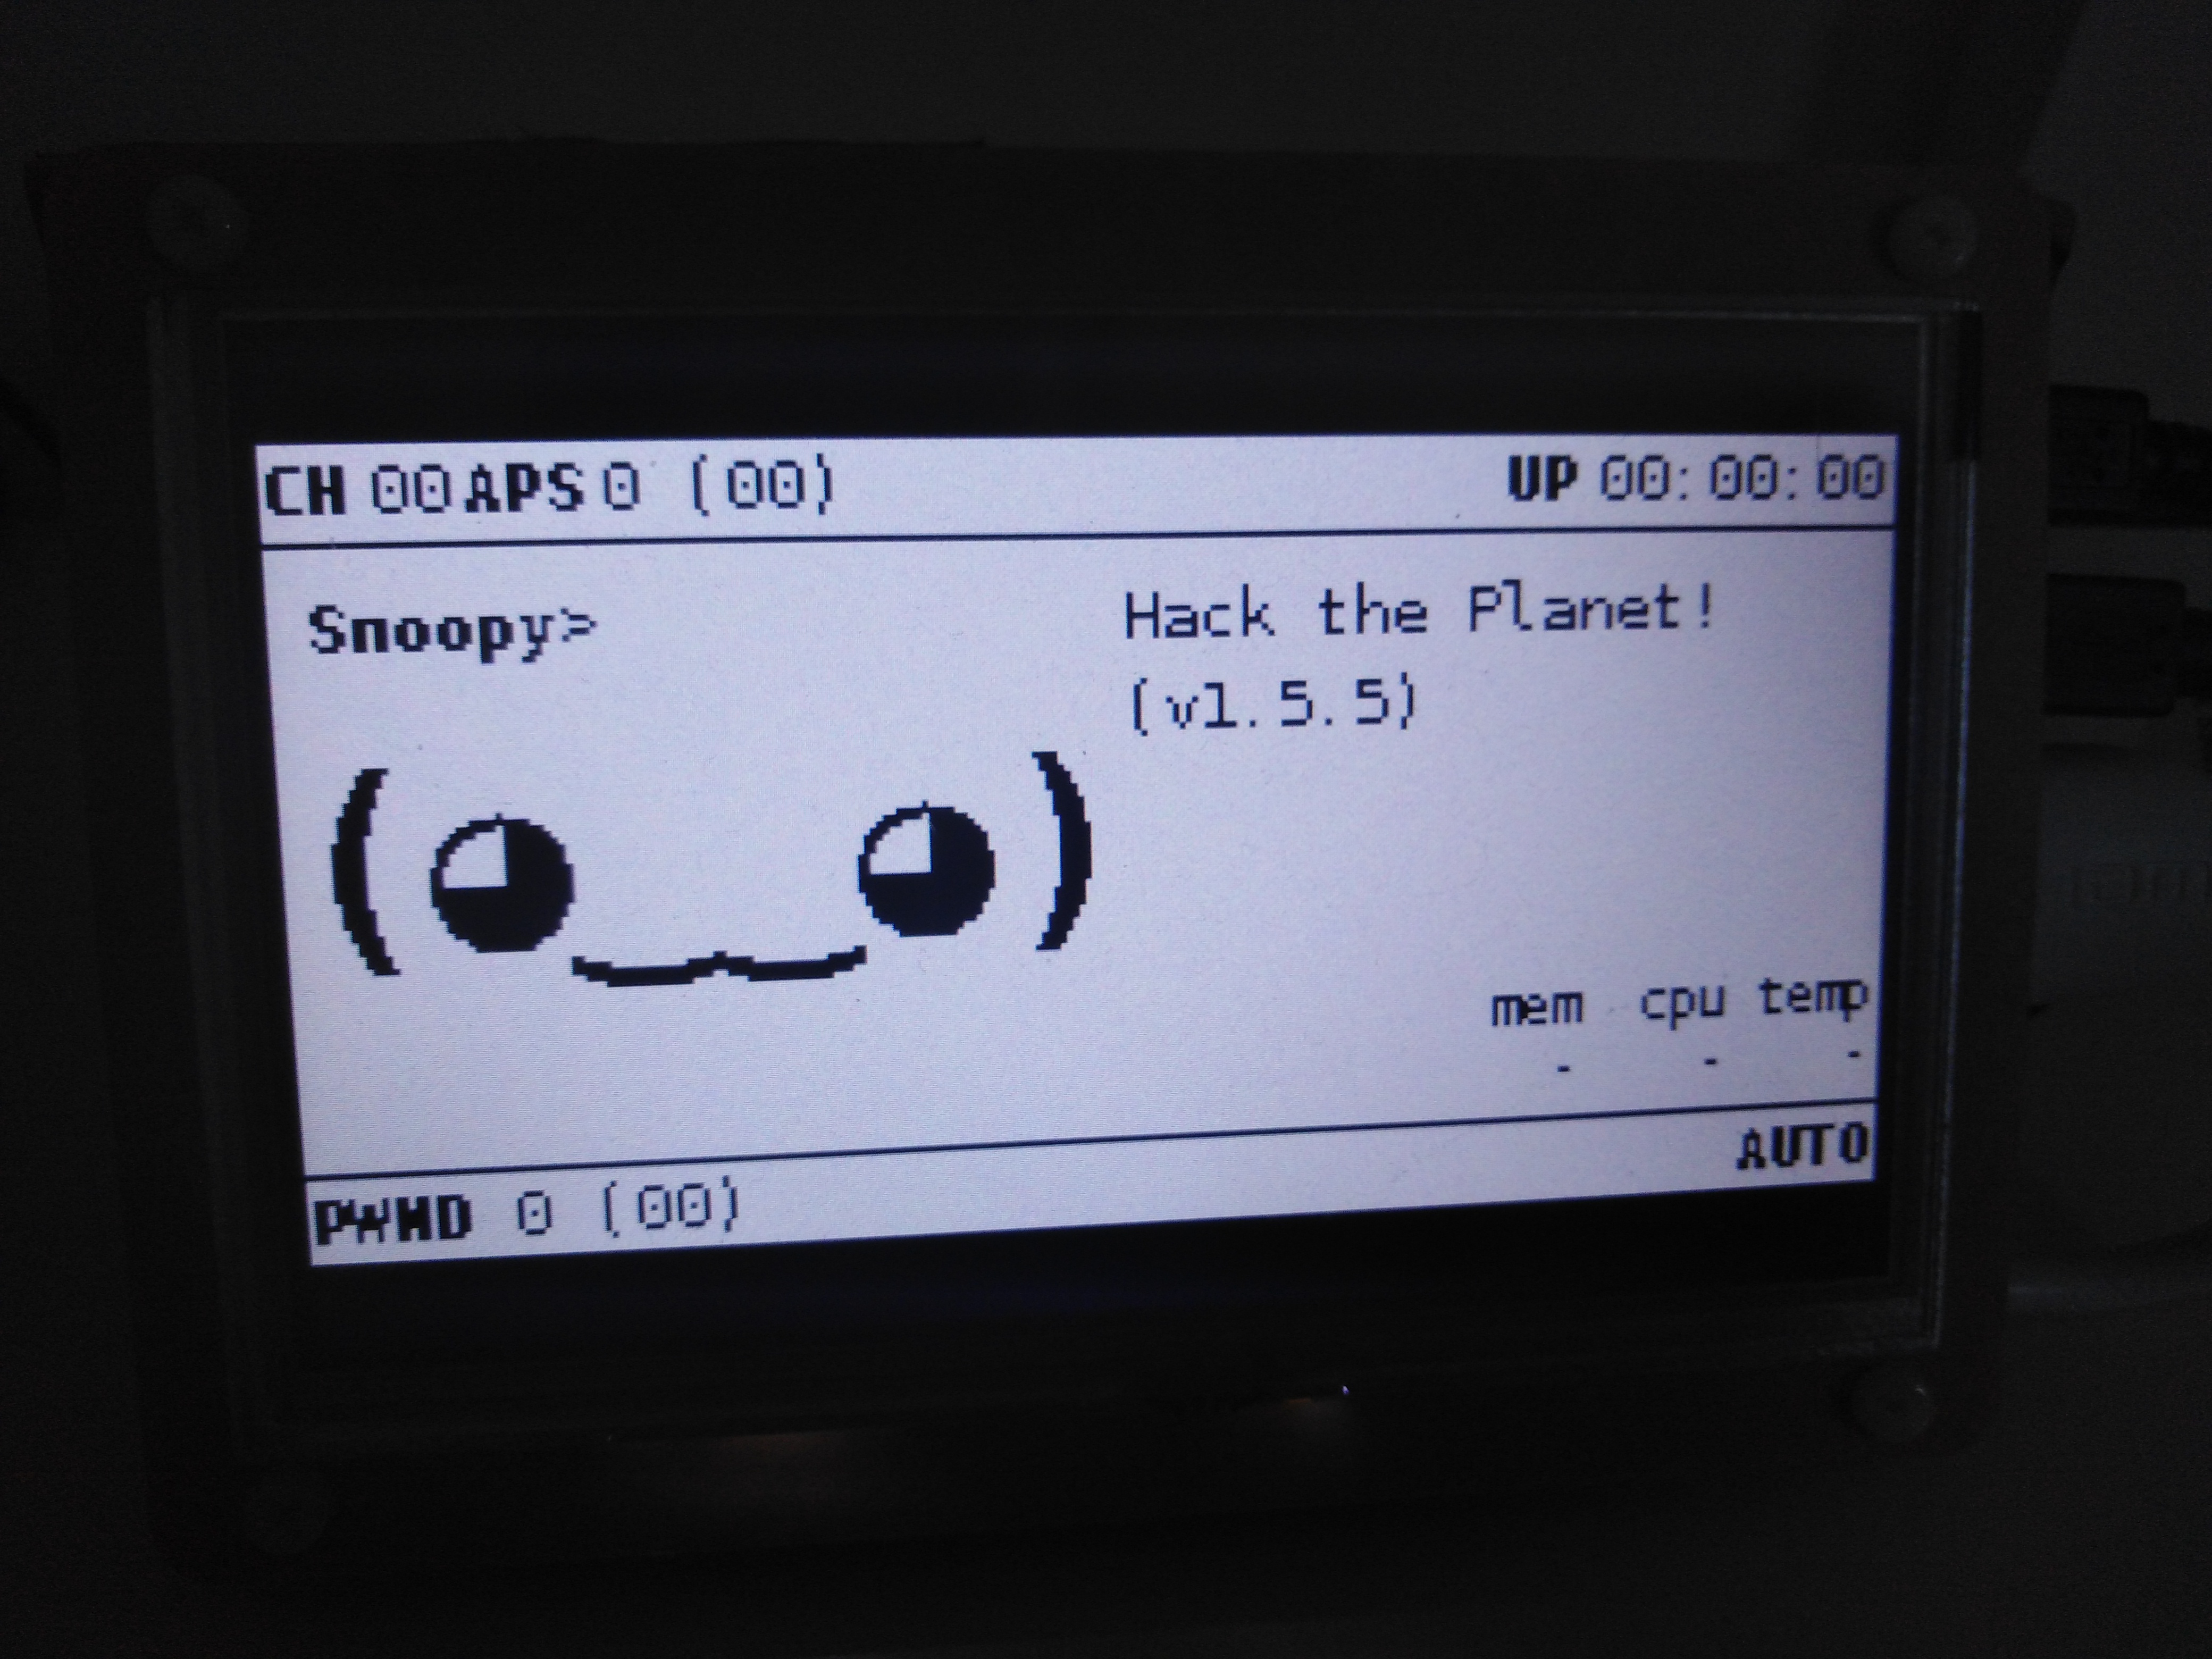
I named my Pwnagotchi Snoopy after the famous cartoon character from Peanuts.
This was a very nice project as I got to work with my Raspberry Pi and learn more about networking and security.
Hope you enjoyed this project and Thanks so much for reading :D